Nov 9, 2010

Prequel to my previous post

Ok, in my last post, I got a bit carried away. I went thru all this stuff and jargon that blasted through my fingers like bullets through a machine gun.

In creating the "skin" of 3d animated characters, or any 3d object,you need to apply what is called a material to that object. This material controls how the object responds to light sources that you create in a program like Maya, 3d Studio Max, Blender, etc.

Here is what a standard material looks like(a Lambert shader):
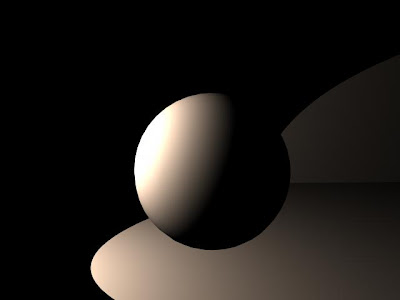


As you can see, the material doesnt respond to light as you would expect. Light is hitting one side and the ground, but no light is bouncing off the ground to "fill" the shadow side of the ball. Also notice how the light seems to fade to black quickly on the ball and on the ground. One more thing: you can distinctly see where the light is the brightest, where it starts fading, and finally , where it stops on the ball. NO light, at least as far as my eyes have seen, reacts this way. As far as our eyes are concerned, there's almost always a seemless transition from light to dark, not including specular highlights (the reflection of a light source on a surface). So how do you change all that? How do you get a material to respond the way YOU want it? Notice that I didnt say, "how do you get a material to respond REALISTICALLY"? That is another topic all together, and one that I will occasionally refer to. But for the most part, I will be talking about how to get a more stylized, simplified look out of your materials.

I have been working on a 3d animated short for 2+ years now. You might be wondering, "Well if its so short, why has it taken 2+ years?" That's a valid question, but the short answer is that in 3d animation, you have to create EVERYTHING. Much like in traditional animation, where multiple artists must draw characters, backgrounds, props, storyboards, etc. to make the film, so too must this happen when creating a fully animated 3d film.

But in addition to that, you have choices to make. What if I dont like that look of the standard materials? What if they make all my characters look like their made of metal or wood, but they are supposed to look like flesh and blood creatures? Well that is where building your own materials comes into play. And it is possible to combine the materials that your 3d software comes with to get different results. You can even build shaders through programming, but that is not how I do it, so dont expect any of that. This is akin to painting hand drawn characters, when combined with textures as well as materials.

Fast forward to now. We start shading our characters with the shaders that come with our 3d software(in this case, Autodesk Maya). This is what we get, roughly:


Now some of you may be thinking, "Wow this looks great!" or " This looks like sh**! or even, "I couldnt do that!". Well, that nice. But its not the look we wanted. Its too realistic for what we wanted. Here's an even earlier test just to show what happens in different lighting:
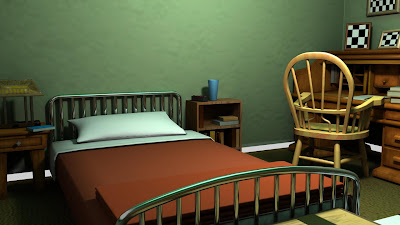


This second image is closer to what the standard shaders ( with some tweaks and textures :p ) will produce. Areas under objects, like the desk or the bed, appear to be black. And yes, areas under objects are usually dark, sometimes they even appear black. Add to this a color scheme that's all over the place and things go haywire FAST! We we're going for a more painterly and illustrative look, and many painters seem to agree that using black to darken your shadows or objects tends to "muddy" the overall image. Now a lot of this information I did not know before I had the specific goal of creating a more simplified look for the film. So we researched painting techniques, color palettes, even other 3d artists, to find a style that we felt was visually pleasing for the film, called "Meteor". And in my off time, I happened to be playing a game who visual style I admired a lot: Team Fortress 2. Here's a painting showcasing Valve's TF2 style:
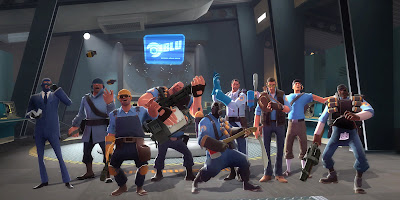


A unified color pallette, clean silhouettes, stylized lighting, iconic characters. Great, sign me up! But being inspired by this look was not enough. We couldnt just "steal" this look. So I wanted to know what inspired Valve's team. That's when I discovered, or re-discovered, an artist whose work has invigorated my own work:

J.C. Leyendecker

A digital version of these paintings doesnt do them justice, but OMG, these are amazing! Blacks arent really black, but cooler colors like dark blues and purples. The skin on these characters looks so vibrant with their warm highlights and cool, not black shadows. That's just the tip of the iceberg, but I now had a clearer vision of where to take the look of the film.

Here's a preview how, with some help from a colleague(Im looking at you, Quio), we re-worked that initial material:
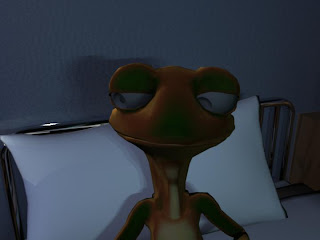
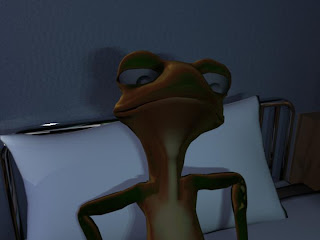
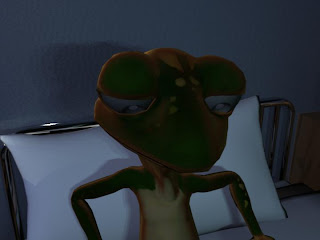


-Pedro S.

Nov 8, 2010

Breakthrough!

OMG, coloring a 3d character is not easy AT ALL! This is especially true since I want almost-absolute control over how my characters are rendered. I knew from the get go that the characters for "Meteor" were NOT going to be realistically shaded since they were modelled in a more simplfied way. But let's face it, standard cell shading SUCKS! With that in mind, I was inspired by the way TF2 ( team fortress 2, for the uninitiated) handled their game characters, but had little experience with Maya's hypershade to build something like that. In a nutshell, TF2's style creates a shader than emulates the illustrative rendering styles of 20th ct illustrators like:


J.C. Leyendecker


AND

Dean Cornwell

So I needed to learn alot. Above all, my main goal is to have the most control I can get before rendering. Here are some of my goals:

1)Build a shader that responds to light in an illustrative(i.e. non-realistic) way
2)Being able to work interactively to avoid rendering needlessly
3)Possibly creating the shader to allow control over the color and placement of attached shadows.


Now, here are some early attempts:


The first two images show my initial attempts at making a shader that would change the color of the surface in a way that I could control.Yo can see that as "Bob" shifts, the color of his head changes. However, the change doesnt "read" correctly. Its as if his head is being painted a different color as he turns! But what is working is that Ive managed to get the side of his face that is in shadow to be a color other than black! This may not seem like much, but in Maya most shaders automatically make the shadow side of an object black. So Im know Im on the right track. More on this next post...

Sep 29, 2010

Dialogue test roughs 01


Teaser: some character roughs Im trying out for a dialogue test.

Aug 24, 2010

Changes


Scene 33 has been changed. And while the difference is slight, the dynamic of the scene has changed. This kind of change is one of the difficult things about animating in any medium: when a scene changes a good deal after its been started, its gets harder and harder to make "little changes". This happens with traditional animation as well, but more often you have to re-draw the entire scene with any change. With animation programs that contain a graph editor ( Autodesk Maya, Tv Paint, any animation program worth its salt...)you do have some wiggle room to adjust a slow-in here or some overlapping action there. For me, one of the difficult things to learn in 3d was how to cope with this type of change. So it was paramount to learn....STEPPED ANIMATION/CURVES!!

What is stepped animation, you ask? Also known as 'stepped curves' in 3d, instead of adding all the curves ( i.e. making the characters movements smooth), you only show the major poses. It is a direct decendent to the way traditional animators roughed out their scenes. It ends up looking 'choppy' or 'robotic', but again, the idea is to keep things simple so that if the director doesnt like it, you can 'redraw' your poses quickly.

However, some directors have trouble "seeing" the animation based on stepped animation alone, and will only 'get' the acting when its smoothed. Which can cause you, the animator, a world of grief. This is because 'smooth' animation takes a long time to produce. Keeping your animation in 'stepped' as long as possible ensures flexibility and your sanity! But in the off chance that you end up having to present your rough animation in curves, there's still hope. Instead of spending all your time getting every movement perfect, concentrate on the most important movements. For example, if your character is falling thru the air, dont spend your time on how tight their eyes will be closed as they plummet to their doom! The primary action is falling. So key a pose at the top and bottom of the fall. If you want, you can turn your curves to 'linear' so it actually looks as if he's floating down. How fast the character appears to fall is based on how long it takes to get from pose 'a' ot pose 'b'. Fast fall= less time between 'a' and 'b'. Slo-motion fall=MUCH more time between 'a' and 'b'.

Aug 17, 2010

the mysterious scene33!!!

Well, this scene is being changed as I animate it, but such is production! I definately liked this version better, but in the end, the closeup wins out. Ill post that one later. I think the great thing now is that I can get a scene roughed out in a day or two now, depending of course on how long the scene is. At the beginning of this film, it would take FOREVER!

Aug 5, 2010

Shark Week?

Hmm, Shark Week. So Im late jumping on the band wagon. I was inspired today to do some animation surrounding Discovery Channel's Shark Week. I didnt want to take it all the way, but hopefully, someone besides me will get a kick out of this. This is why i love traditional animation so much: you can do it on the fly. All you need a pencil and some imagination....wow, that sounded really corny, even coming from me.

[EDIT] I was told by a friend that the animation wasnt looping. So I re-posted it. But it took longer than I thought, as Blogger no longer accepts dot gifs as a file format. Lame..

Jul 26, 2010


I have very little experience with digital painting, but a little more with traditional oils. Hopefully the interwebs doesnt screw too much with the color in this sketch either. Anyway, I've found that the quickest way to get a quasi-realistic look to your digital paint without rendering it is to:

1)Paint the highlight and the reflected light using a variation of the same color. Not only does this keep the colors in the same family, but it's faster! Notice below that the reflected light is almost exactly the same color ( with few exceptions) as the highlight.
2) Also, the terminator can become too flat very quickly. This is where the light ends and the shadow side of an object begin. As a result, the tendency is to over-render (i.e. gradient transition) this region. Instead, use a definate color change. This will help you get a better idea if the color you chose for the terminator "feels" right. Also, dont be afraid to use that undo key!! The easiest way Ive found is to choose a color for the terminator and paint it in one quick, wavy stroke. U should be able to tell immediately if its off. Simply hit the undo key and try a different color. Hope that helps.

--Pedro

Jul 21, 2010

Wow.

Ok animation, its time to kick you in the @$$. So ive been doing a ton of things: web design, animation in Maya (3d), Flash animation, sketches of my dog, and otherwise trying to stay out of trouble. Recent events have definately made my life more..difficult. You ever had dreams of making a film, owning a comic shop, or otherwise doing something that you love? I'll say this right now: it aint easy. Even if you have something that you're really good at, something you want to make into a career. I believe this is because being really good at something usually involves some degree of selfishness. Meaning that at some point, you'll have to forgo pleasurable things, like hanging out with friends, sometimes even being with your family. Maybe you even break up with someone just to hve some extra time.

These are all extreme case of what can happen when you do something you love. The key is to ask yourself what your willing to sacrifice in order to do what you love. Are you willing to sneak into a life drawing session where a fee is required? Are you willing to live in your parents' basement for a few extra years? think about it.

Animation is the thing Im willing to sacrifice a lot for. But I've reached a limit. I know what Im not willing to do in order to make this dream a reality. And I had to make a LOT of mistakes to get to where I am. A lot of tough decisions. A break up. Quiting my job for a film that I wasnt going to get paid for. Designing a website.
Doing clean up work for a t shirt company. Random things.

So if you have fallen asleep up till this point, remember this: Nothing worth doing is easy. I know its been said before, but I learned the hard way to find this to be true.

Mar 11, 2010

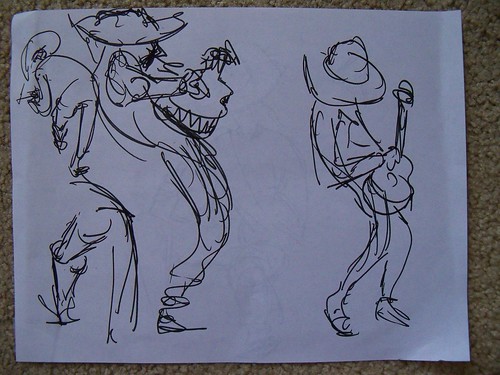
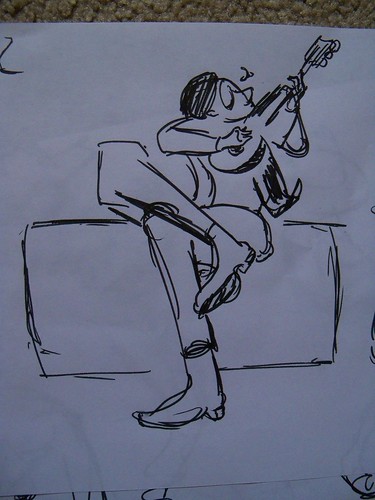
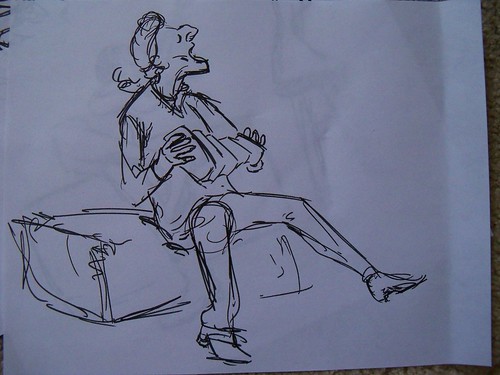
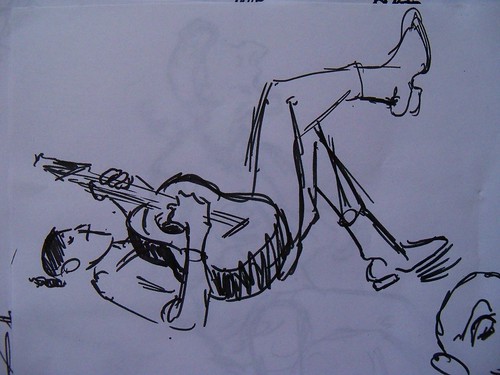
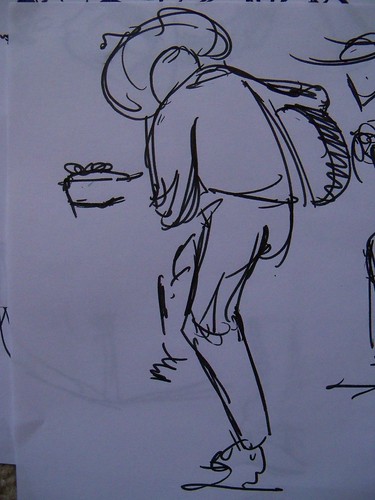
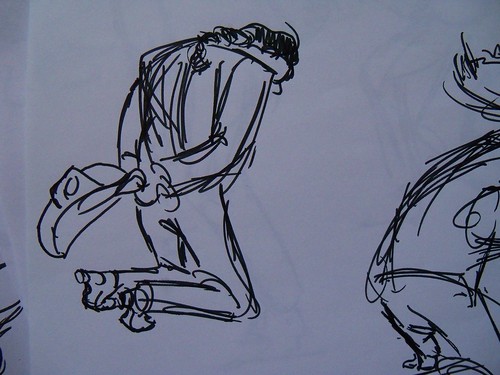
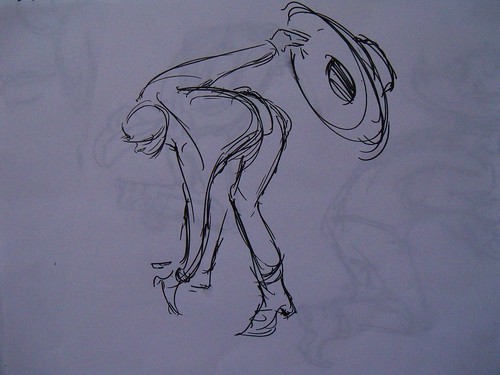
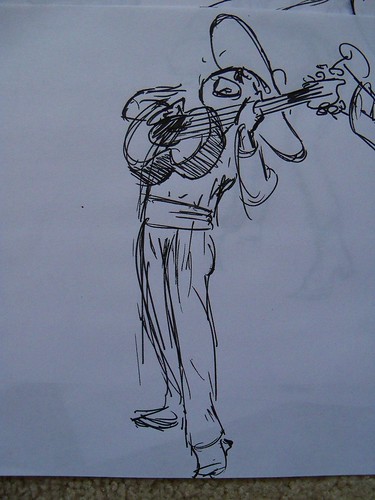
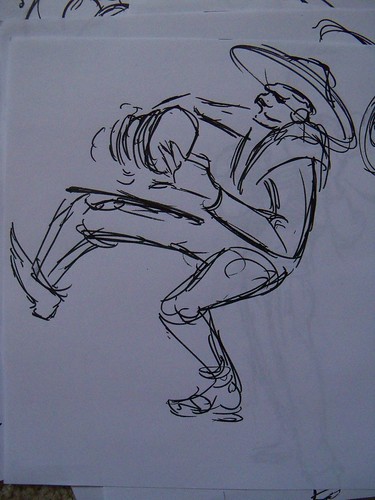
30 seconds to a minute

The poses went up to three minutes, but I didnt have the patience to draw a QUICK SKETCH for that long. Hmm, I think one thing Im noticing is that I tend to take up too much of a page with a sketch. So it ends up feeling cramped. Practice makes better!

100_0469


100_0468


100_0467


100_0466


100_0465


100_0464


100_0463


100_0462


100_0461


--Pedro

Mar 4, 2010

Hmm... more sketches

Im having trouble with the sketches of the dog. Any advice on the way the hips connect to the ribcage( how to draw that connection. I know how they physically connect, but getting it to look correct in a foreshortenend drawing is the problem that gets me stuck).


Jan 28, 2010

Name that software

Guess what I used to draw this and you'll win...NOTHING!! Actually, it only took a week or so to get used to the slip-and-slide that is a Wacom tablet. Even so, its very convenient once Im on the go with my laptop.


Also at Borders
...


Once more..with feeling